
DIY nail art designs are not as difficult to pull off as they look. All the nail art videos you have seen involve complicated procedures. Of course, it is all worth it because it’s your wedding. But what if you don’t have the time for the same as you have to get ready to reach the wedding banquet for the ceremony.
Planning Wedding any time soon?
Then, Give us a call
08750287502
Here are some simple nail art tricks to help anybody wade through the nail art passion with some flair. Each of them involves very easily available props if there are props at all. Before you start experimenting with any of these designs, take a read and determine what colour combinations you’d like for each design.
- Loofah Trick
Cut a loofah to spread on your nail. You already have the first coat of the nail paint on. Let it dry. Now place the loofah well stretched, on each nail while you paint it with the second colour. You will get a symmetrical mesh design.
Alternately, if you want just the net lines and not filled diamond shapes for the second layer, stretch the loofah strip, apply the second nail polish on it, and press it over your nail. Remove immediately without the slightest shaking.
- DIY Matte Nail Enamel
If you want a matte finish, just dab some eyeshadow as the top coat for your nail polish. This will give your nail paint a unique shade. Leave just one nail glossy to accentuate the matte effect.
- Bobby Pin Polka Dots
Use bobby pins or matchsticks to put polka dot designs.
Wait for it to dry before putting a coat of transparent gel to lock the polka dots in.
- White Canvas

A white nail polish base serves as a canvas for many simple yet bright nail art techniques. You can go for polka dots of multiple colours on each nail, or a different colour for each nail. You can go for coloured splashes on a white base.
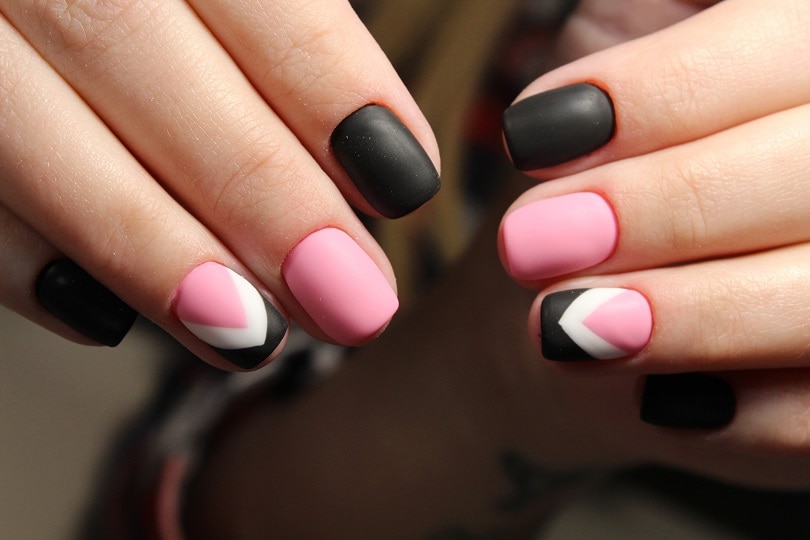
- Black and White
Black and white nail polish is the most stylish yet formal combination.
If you want to deck up your nails even when you have a corporate job to go to every day, this is your go to colour combination.
- Sello Tape Lines
You might have tried the horizontal, vertical, or slanting stripe patterns on your nails, only to have it all messed up. The trick is to use sellotapes. If you want just two halves of different colours, be it vertical, horizontal, or diagonal, paint your entire nail with the first colour. Wait for it to dry and put a transparent coat. After that dries, cover half the nail with a sellotape and paint over the other half with the second colour. Remove the tape after it dries.
If you want stripes, cut thin strips of tape and stick them on carefully on a dried first coat. Paint over the entire nail with the second colour.
- Crumpled Plastic Print
If you want a messy pattern, crumple up some plastic and put some nail polish on it. Dab it on the first coat of the base colour. Asymmetric patterns will appear, wait for it to dry.
- Hole Guards

If you want bigger polka dots or semi-circles, use hole guards like you used tape. You can go for the half moon at the edge. You can even go for three different colours perfectly separated from each other, with the help of hole guards.
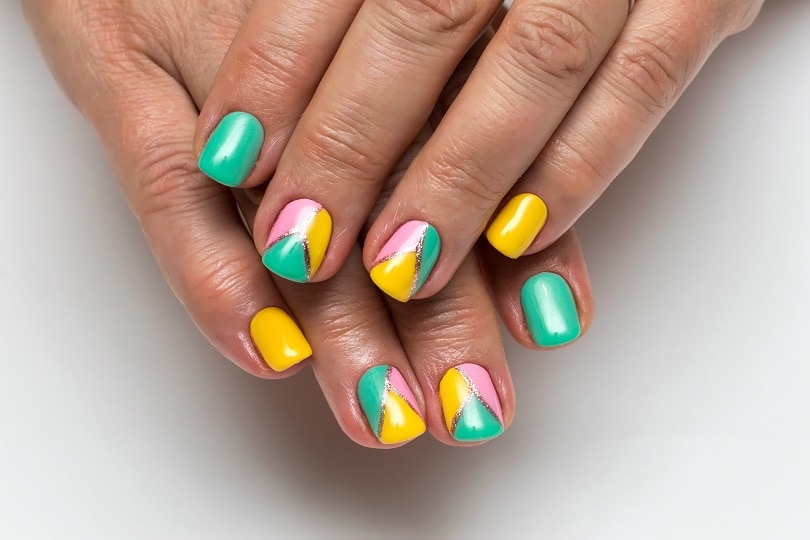
- Golden Sharpie Lines
Golden sharpies brighten up any colour of nail polish. Go for simple lines or boxes. Try making different designs for different nails if you want. If you want it to be simple and formal, draw the pattern on only the ring fingernail. Leave the rest with plain nail paint.The best thing about golden sharpies is, it adds to the bling suitable for wedding nail art, and goes with any colour of the base.
- Sharpie Marker Texts
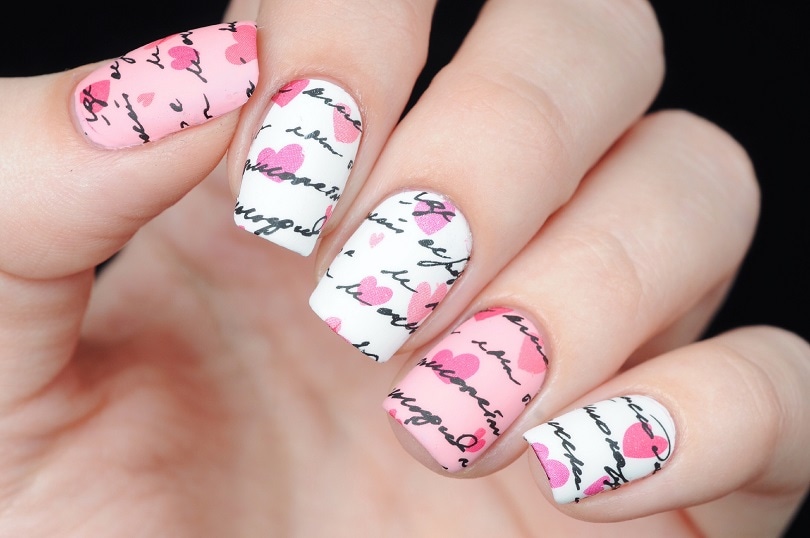
Use thin sharpies to write texts on your first coat of nail polish of a contrasting colour. You can draw small animal figurines as well. Simple diagrams like smileys, sun, moon, animals, fish, drawn with a black sharpie on white or yellow nail paint looks cute. If you want it to look less childish, go for texts or simple patterns.
- Semi Dry Scribbles for a Second Coat
Before you throw away your old drying nail polish, try this trick. Make sure it is not completely dry, but just a little thick. The kind of dry that can be fixed with some drops of acetone. But don’t fix it yet. Put a coat of normal nail polish and then after it dries, brush through with the semi-dry polish to create a rough pattern.
- Sponge Texture
Sponges have curious patterns on them already. If you want something more symmetrical than crumpled plastic, use a sponge. Put the first coat, wait for it to dry. Then generously apply the second shade on the sponge and press it over your nail. Make sure no part of the sponge is dry, without the nail paint layer. Any unpolished part of the sponge will stick to your nail, ruining the entire nail.
- Minimalistic Single Lines and Dots
If you want your nail polish to look more naturally handcrafted, go for simple stripes and dots instead of using tape or bobby pins.
Use a thin nail polish brush to make the dots and lines on your own. The lines may be a little shaky, and the dots differently sized, but it will be a perfect DIY nail art.

- Polish splatter
Splatter colours with other nail polish shades on a white, black, or any dark or light shade. Thin down the nail polish, you are splattering; else there will be big globs on some nails, and nothing on the rest.
- Layers
Layer up your nail polish with the sellotape technique. Make it look layered but apply the different colours only where they need to be, with the help of the tape that will peel off with the extra nail polish stroke.
- Glitter
To make any nail art design turn into a nail art for the wedding, just throw on some glitter. Try using some discretion while determining the glitter pattern which matches your unique bridal wedding dresses. Let the nail polish dry completely. Put a top coat of transparent gel and sprinkle the glitter on the nail beds or tips before it dries. Use the sellotape way if you want definite lines for the glitter. Put the transparent coat only after the tape has been placed.
- Half Nail Paint
Women wear big chunky earrings on just one ear now. Some people wear trousers cut to different lengths. A lack of symmetry is in.
So, instead of going for two different coats for each nail, you can cover the naked nail with tape and paint over just half of it. You don’t even need the tape if you have got steady hands. This is the quickest way to a quirky nail art.
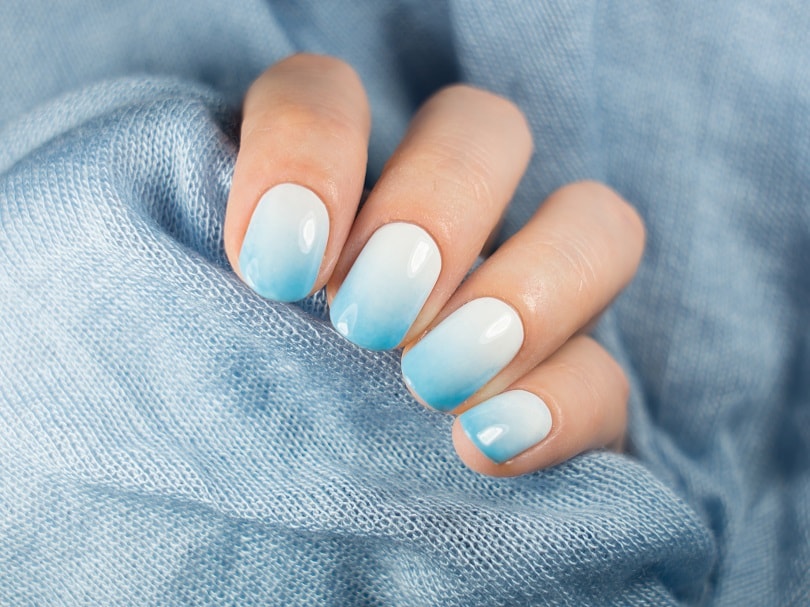
- The illusion of Half Nails with Nude Shades
If you don’t want to do the half nails thing but like the idea of it, put a base coat of a totally nude peach shade. Let it dry, cover it up, and paint the other half with a prominently dark shade. Do not go for exactly half of the nail. Keep it 1/3rd or 2/3rd.
- Shearing Scissors for Tapes
For zigzag nail art designs, use shearing scissors to cut the tape before pasting it on a dried base coat. Paint over the nail with a contrasting colour and when you lift the tape, the line separating the two colours will be a zigzag one.
- Fan Brush Strokes
If you want a carefully devised careless strokes effect, use a fan brush or washed mascara liner to zigzag through the first coat. It will look like careless brush strokes through the first coat.
So here were some nail art designs for you to follow for your unique wedding reception. Most of them are simple. The target is to make every nail look good. You may not be the most creative person, or the person with the steadiest hands, or someone with ample time for nail art. That does not mean you don’t get to enjoy nail art every once in a while.
OR
Give us a Call
08750287502
- Top 16 Things to do in Kolkata in 24-hours - July 25, 2019
- Savour These Delicacies While in Bali for a True Gastronomical Treat! - May 29, 2019
- A Seasonal Guide to Sri Lanka – The Pearl of the Indian Ocean 2019 & 2020 - May 24, 2019
- Six Experiences You Mustn’t Miss in Sri Lanka for A Fabulous Trip! - May 24, 2019
- 5 Bazaar Ramadan terbaik di Kuala Lumpur. - May 15, 2019
- Planning to Visit Ladakh? Here is a Seasonal Guide to Help You Plan Your Trip - May 8, 2019
- Visit These Places in Bali For an Exciting Vacation in The Tropical Island! - May 7, 2019
- 8 Best Places to Spend Your Vacation in the Hills of Himachal Pradesh - April 17, 2019
- Places to Visit in Thailand - April 16, 2019
- Want to Visit Bali at Minimum Cost? Follow Our Guide to Travel Bali on a Budget! - April 12, 2019